

How To Get A Power Window Down Manually
How to Heighten a Stuck Power Window Manually in a Car
I learned valuable DIY skills from my dad who was an electric engineer and physicist; I took a year of auto in high schoolhouse.

Wondering how to raise a stuck power window manually? Read on for tips.
Mr Thinktank, CC BY 2.0, via flickr
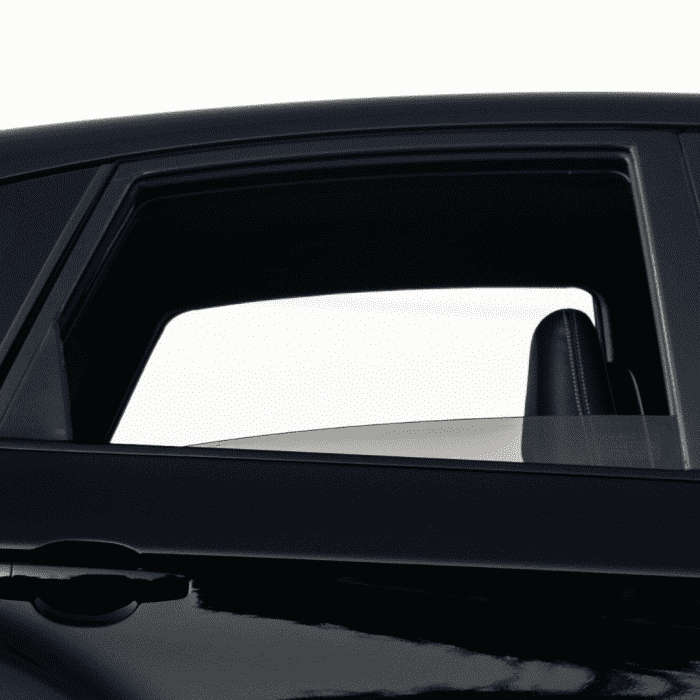
Quick Fix for a Ability Window That Won't Go Up
Did your power window become stuck in the down position? Are yous trying to avoid an expensive bill from the auto-mechanic? Are yous worried about leaving your window down?
This quick gear up volition allow you to pull a stuck window upwards manually. Later on you go that taken care of, you tin can either have it to the mechanic or purchase the replacement motor yourself for the repair.
Fix a Stuck Car Window Manually
Will Norbury
How to Fix a Stuck Car Window Manually
The principles for fixing a stuck window will be the aforementioned or quite similar whether you have a 2000 Toyota Camry, a 1997 Toyota 4Runner, a 2001 Mazda, or some other machine model. I've had this issue with my 1997 Toyota 4Runner before. Here'southward what you will need and here's what to do:
- Remove the door panel.
- Disconnect the window from the motor.
- Disengage the motor.
- Raise the window.
- Reconnect the motor.
- Replace the door panel.
Supplies
- Flat-head screwdriver
- Tape
- 2 Rubber bands
- 2 pieces of forest (approx. 12-inches in length); alternatively you tin can utilise painter'south tape
Safety
Equally a general give-and-take of caution, always exist conscientious when working with electric equipment and wiring and wear PPE. Never attempt anything beyond your skill level.
Ringlet to Keep
Read More from AxleAddict
Stride one: Remove the Door Console
- Remove all screws on the door panel: Remove the screws on the front of the driver's-side door panel (they may be plastic or metallic). Be sure to locate all screws—some will be under plastic covers, behind a door handle, beside a courtesy light, etc. Remove the plastic covers during this process and set them aside. (Always put your screws in a safe place.)
- Remove the door console: Remove the door console using a flat-head screwdriver by prying information technology gently out.
- Disconnect the two plastic wire switches: You lot tin utilize a apartment-caput screwdriver to pull the connectors apart. Put the door console aside.
- Remove the door panel: Using your hands or a flat-head screwdriver, gently kickoff at the front border of panel and pry it off. Work your manner along the sides and to the back of the door frame. The plastic snaps should undo. Lift the door panel off.
- Remove the polyethylene cover: You can use a razor blade to remove it instead of pealing it entirely off or simply cutting it along the within of the car (see the video below).
Step 2: Disconnect the Window From the Motor
- Get two pieces of wood: Get one–2 pieces of forest (1-foot-long is fine) that volition serve equally braces for holding the window in place from the inside of the door (yous can also use painter'south tape). You lot volition need to hold the window up once you remove the screws of the regulator machinery so that the window does not fall off the regulator mechanism.
- Locate the regulator mechanism screws: There will likely be two screws that are holding the window to the regulator mechanism that you will demand to remove—these are ofttimes seated and visible through the door frame. When y'all unscrew them, be certain to hold the window then that it won't accidentally autumn off the regulator mechanism's ledge (this is an extra precaution).
- Move the window up: While holding the window in place with one hand below, grab the top of the window and pull it upwards as high as yous tin. Stick a piece of woods into the frame to hold the window in place.
Step three: Disengage the Motor
- Locate the motor and remove the bolts/nuts: Find the motor in the door. It's often located in the peak right of the frame. Remove the bolts and nuts holding it in place.
- Remove the cover: Remove the cover but first secure the nuts in the base of the cover with tape (to prevent them from getting lost) earlier unscrewing. The comprehend will have a magnetized pull when y'all remove information technology.
- Remove the motor beam: The brushes along the axle are spring-loaded and will pop out if the beam is removed, so use two rubber bands to hold them in identify. Take one band and thread information technology through the wire that leads to the brushes; loop information technology dorsum through its ain end and over a section of the regulator to secure it. Repeat this for the other castor with a 2nd rubber band. Yous can so lift the motor axle out of the motor torso by turning it counter-clockwise. Set it aside.
Stride 4: Connect the Window and Motor and Raise the Window
- Replace the screws: While grabbing the window from above and beneath, supervene upon the screws that hold the regulator mechanism ledge and remove the piece of wood holding the window in place.
- Heighten the window: While holding the window from above and beneath, push and lift the window up; yous tin be more forceful here while lifting to really get the window high enough. Always proceed your hand holding the window from below so that the window stays upward.
- Put the motor axle back in place: Use your free hand to put the motor beam back in place into the motor trunk; careful not to forcefulness information technology. While keeping the window in identify, plow the axle clockwise to residue information technology into the motor body, keeping the brushes aligned with their original position with the commutator. Plow the axle equally far as you can (the window should exist lifted up); you can now release both the window and the beam.
- Supercede the motor cover: Very carefully, supersede the motor encompass and exist sure to mind the magnetization—exercise not knock the beam out of place. Replace the bolts.
- Secure the motor to the door frame: Fix the motor to the door frame again by threading the bolts/basics dorsum in identify. Y'all can tie off the wires to the door—exercise not reconnect them since you're not going to use the window.
Step five: Replace the Door Panel
- Replace the polyethylene embrace.
- Put the door console back. This is a multistep process: start by inserting the door handle into the panel and fit the top-rear edge of the door console into the peak lip of the door frame. Snap the door console back into place and connect the plastic wire connectors. You may demand to bump the console back into place along the edges of the frame.
- Replace the screws. Replace the screws that you removed at the beginning of the projection.
This commodity is authentic and true to the all-time of the author's cognition. Content is for informational or entertainment purposes only and does non substitute for personal counsel or professional person advice in business organisation, financial, legal, or technical matters.
© 2019 Laynie H
Related Articles
Source: https://axleaddict.com/auto-repair/How-To-Raise-A-Power-Window-Manually
Posted by: coledisme1997.blogspot.com
0 Response to "How To Get A Power Window Down Manually"
Post a Comment